How to Make Homemade Peanut Butter: A Nut Lover's Discovery
I’ve always been obsessed with nuts. My pantry is lined with jars of almonds, walnuts, and pecans, each with their own special spot. But peanuts? They were just… there. I’d snack on them occasionally, but they never felt exciting. That all changed last summer at a friend’s barbecue. She served these tiny sandwiches with a spread that was creamy, salty, and packed with a rich, earthy flavor I couldn’t place. “It’s homemade peanut butter,” she said. I ate three sandwiches in a row and left determined to figure out how to make it myself. Turns out, it’s easier than I thought—and way more rewarding.The following content is my experience of making homemade peanut butter.
Choosing the Right Machine
The first step to great homemade peanut butter is picking the right machine, and let me tell you, not all blenders are created equal. I started with a basic food processor, thinking it would get the job done. After 15 minutes of loud grinding, I ended up with a lumpy mess that stuck to the sides like cement. That’s when I invested in a high-speed blender, and it was a game-changer. These blenders have powerful motors that break down peanuts into a smooth paste without all the hassle.
Why does speed matter? Peanuts release their natural oils as they’re blended, and a high-speed motor keeps the process moving fast enough to turn those oils into a creamy base. A slower blender can leave you with dry crumbs or uneven chunks. I tested this by blending half a batch in my old processor and half in the high-speed blender—there’s no comparison. The high-speed version was ready in 2 minutes, silky and spreadable.
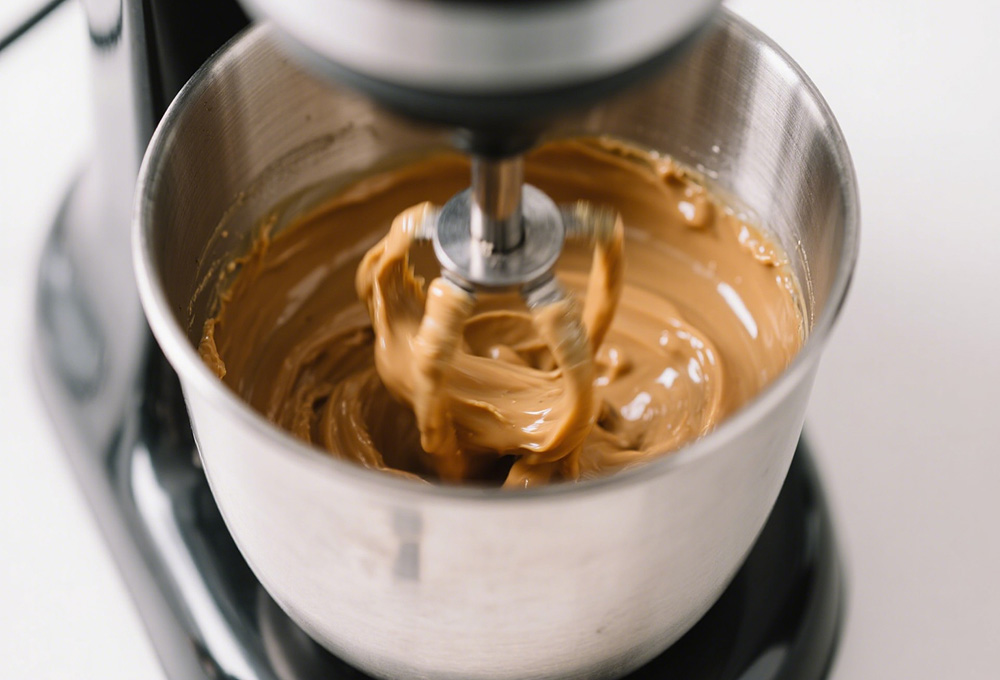
If you’re curious about how commercial brands do it, they use much larger equipment. Industrial operations rely on planetary mixer, which are heavy-duty machines designed to handle huge batches. These mixers rotate in two directions, ensuring every peanut gets evenly processed. But for home use, a high-speed blender is more than sufficient. It’s compact, easy to clean, and perfect for small batches. I store mine on my countertop now—it’s become a staple.
Pro tip: Make sure your blender has a tamper tool. This little accessory lets you push peanuts down into the blades without stopping the machine, which is crucial when they start clumping. I forgot to use mine once and ended up with a big ball of peanut dough spinning around instead of blending. Lesson learned: always keep that tamper handy.
Picking the Perfect Peanuts
Now that you’ve got your blender, it’s time to choose the star ingredient: peanuts. Not all peanuts work the same, so let’s break it down. I’ve tried roasted, salted, and raw peanuts, and raw, unsalted ones are my go-to. They give you full control over the flavor—you can add salt, sweeteners, or spices later, but you can’t take them away if the peanuts are already seasoned.

Where you buy your peanuts matters too. I avoid pre-packaged peanuts that have been sitting on shelves for months. Instead, I head to the bulk section of my local grocery store, where I can smell them before buying. Fresh peanuts have a mild, nutty scent; stale ones smell musty or oily. I also check for any broken or discolored nuts—those can make your peanut butter taste bitter.
Size and variety play a role too. I prefer Valencia peanuts, which are smaller and sweeter than the more common Virginia peanuts. They blend up into a creamier texture, in my experience. But if you can’t find Valencias, regular raw peanuts work just fine. Just make sure they’re shelled—no one wants to pick out peanut shells mid-blend. Trust me, I made that mistake once, and it took forever to fish them out.
If you’re feeling adventurous, mix in other nuts. I’ve added a handful of cashews to my peanut butter, and it adds a subtle sweetness that’s delicious. Just keep the ratio to 80% peanuts or more—you want that classic peanut flavor to shine through. And don’t worry about organic vs. conventional unless you prefer it—both work equally well for homemade peanut butter.
Roasting Peanuts
Roasting is where the magic happens. Raw peanuts are mild, but roasting them transforms their flavor, giving them that deep, toasty taste we associate with peanut butter. I used to skip this step, thinking it was unnecessary, but the difference is night and day. Roasted peanuts make peanut butter that’s richer, nuttier, and more complex.
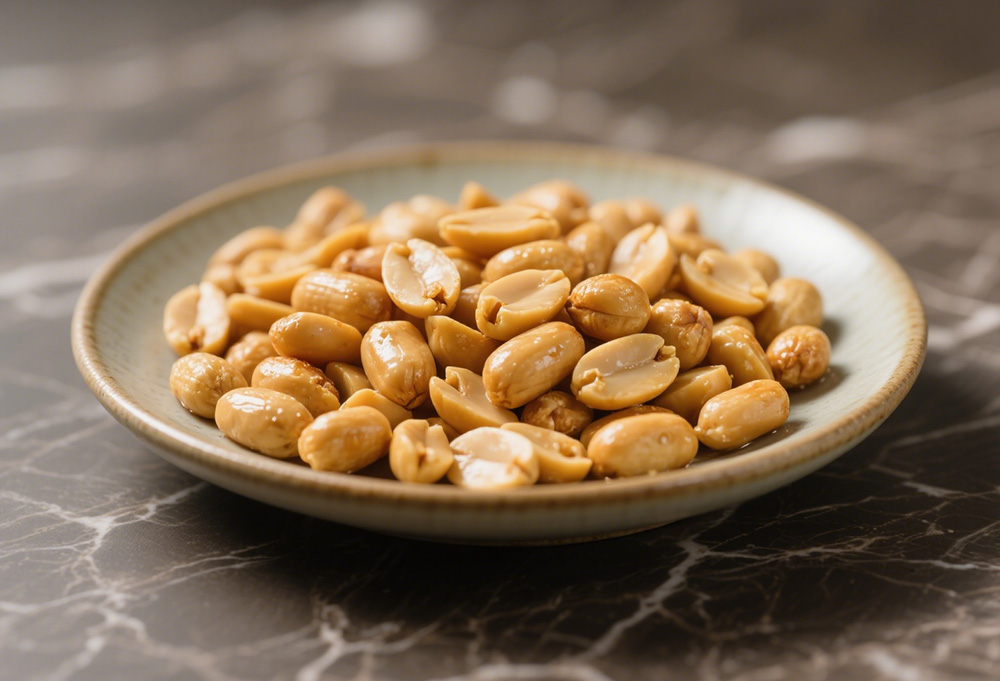
Start by preheating your oven to 350°F (175°C). Spread the peanuts in a single layer on a baking sheet—no overlapping, or they’ll cook unevenly. I line mine with parchment paper to make cleanup easier, but it’s not required. Pop them in the oven and set a timer for 10 minutes. I stir them halfway through to ensure every peanut gets roasted evenly.
How do you know when they’re done? They’ll turn a light golden brown and start to smell amazing—like a warm, nutty bakery. Be careful not to over roast them, though. I once left them in for 15 minutes, and they turned dark brown and bitter. If you’re unsure, take them out a minute early—they’ll continue to cook a bit as they cool.
Let the roasted peanuts cool for 5-10 minutes before blending. This step is important because hot peanuts release their oils too quickly, which can make your peanut butter greasy. I learned this the hard way: I blended warm peanuts once, and the result was a runny mess that wouldn’t thicken. Letting them cool helps them hold their shape a bit longer, giving the blender time to break them down properly
Blending Peanuts
Now it’s time to turn those roasted peanuts into peanut butter. Pour them into your high-speed blender, but don’t overfill it—leave some space at the top to prevent splatters. I usually blend 2 cups at a time, which makes about 1 cup of peanut butter. Start on low speed for 30 seconds to break the peanuts into small crumbs. This prevents them from flying around the blender.
After the initial crumbing, bump the speed up to medium. You’ll notice the peanuts start to clump together into a big ball—that’s normal. Keep blending, and after a minute or two, the ball will start to break down as the peanuts release their oils. This is when it gets exciting—you’ll see the crumbs turn into a thick paste. Use the tamper to push any stray peanuts into the blades, but be gentle—you don’t want to damage the blender.
Once it’s a smooth paste, crank the speed to high and let it run for another minute. This extra blending ensures there are no lumps. I used to stop too early, thinking it was done, but that last minute makes all the difference. The peanut butter should be silky and easy to stir with a spoon. If it’s too thick, add a teaspoon of neutral oil (like peanut or canola oil) and blend for a few more seconds. Go slow with the oil—you can always add more, but you can’t take it out.
Scrape down the sides with a spatula once or twice during blending. Even high-speed blenders can leave some peanuts stuck to the sides, and you want every bit to get mixed in. I once forgot to do this and ended up with a layer of dry crumbs at the bottom of the blender. Take the time to scrape—your peanut butter will be better for it.
Adding Extras
One of the best things about homemade peanut butter is that you can customize it to your taste. I start with the basics: a pinch of salt. Even if you used unsalted peanuts, a little salt enhances the nutty flavor. I use sea salt or flaky salt for a better texture, but table salt works too. Start with ¼ teaspoon, taste, and add more if needed.
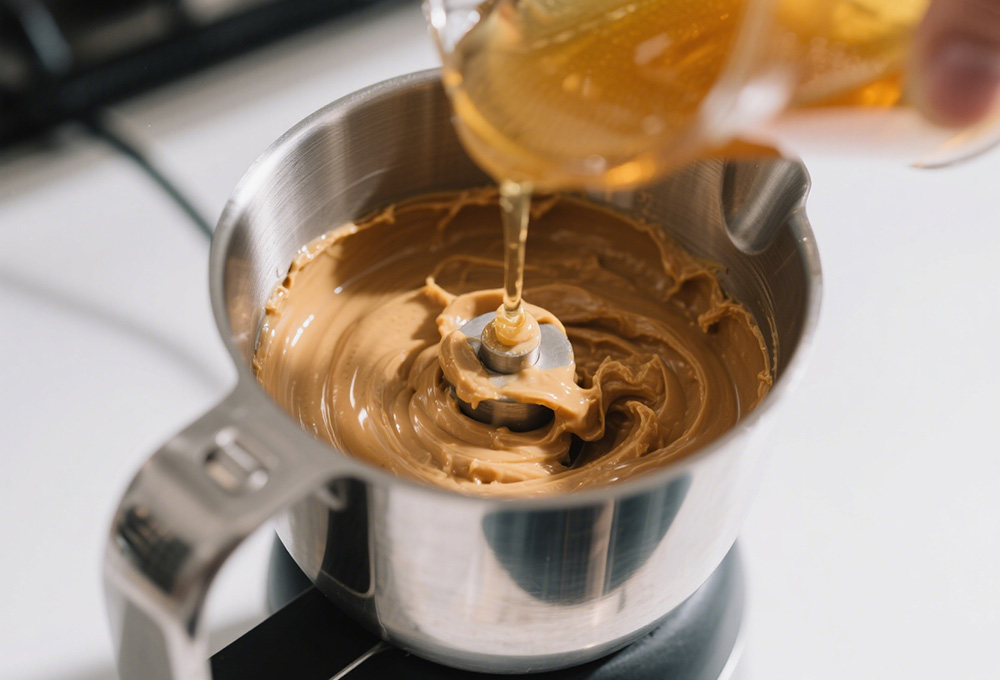
Sweeteners are optional, but I love a hint of sweetness. Honey is my favorite—it adds a floral note that pairs perfectly with peanuts. Maple syrup works too, giving it a deeper, more robust sweetness. Start with 1 teaspoon—you can always add more, but too much can make it cloying. I once added 3 tablespoons of honey, and it tasted more like candy than peanut butter. Less is more here.
Spices can take your peanut butter to the next level. A dash of cinnamon adds warmth, while a pinch of cayenne gives it a subtle kick. I’ve even tried adding a sprinkle of smoked paprika, which adds a rich, smoky flavor. If you’re a chocolate lover, stir in a tablespoon of cocoa powder—just make sure it’s unsweetened, or it will be too sweet. Experiment with small amounts until you find your favorite combo.
For crunch, stir in a handful of chopped roasted peanuts after blending. This adds a nice textural contrast to the creamy base. I do this with half of my batches—some days I want smooth, some days I want crunch. It’s all about what you’re craving. Just make sure the chopped peanuts are cool before adding them, or they’ll melt into the peanut butter.
Jarring Your Peanut Butter
Once your peanut butter is perfect, it’s time to store it. I’ve tried plastic containers, but glass jars are the way to go. They’re airtight, don’t absorb odors, and let you see how much you have left. I save pasta sauce jars and pickle jars—just make sure to clean them thoroughly. Sterilize the jars first by boiling them in water for 10 minutes, then let them dry completely.
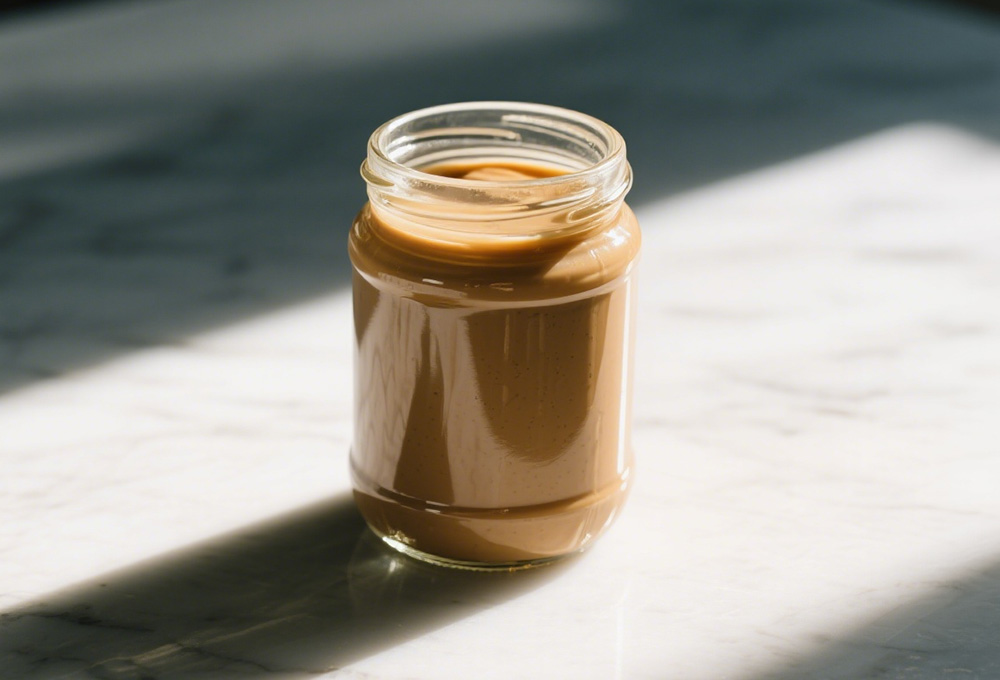
Spoon the peanut butter into the jars, leaving about ½ inch of space at the top. This prevents it from overflowing when you stir it later (more on that in a minute). Tap the jars gently on the counter to remove any air bubbles—this helps it settle evenly. Wipe the rim with a clean cloth to make sure it’s free of peanut butter, then screw on the lid tightly.
Industrial producers use peanut butter filling machine to jar their products, which are designed to fill hundreds of jars per minute with perfect precision. These machines also seal the jars to keep air out, extending shelf life. At home, a tight lid is enough, but if you want to be extra careful, you can add a piece of wax paper under the lid for a better seal.
Label your jars with the date you made the peanut butter—this helps you keep track of freshness. I use a permanent marker on a piece of tape, so I can remove it when I reuse the jar. It’s a small step, but it prevents that “when did I make this?” panic later.
Storing Homemade Peanut Butter
Homemade peanut butter doesn’t have preservatives, so it needs to be stored properly. The biggest thing to remember is that natural oils separate. You’ll notice a layer of oil on top after a day or two—that’s normal! Just stir it back in with a spoon before using. I used to panic and throw it out, but now I know it’s a sign of pure, unprocessed peanut butter.
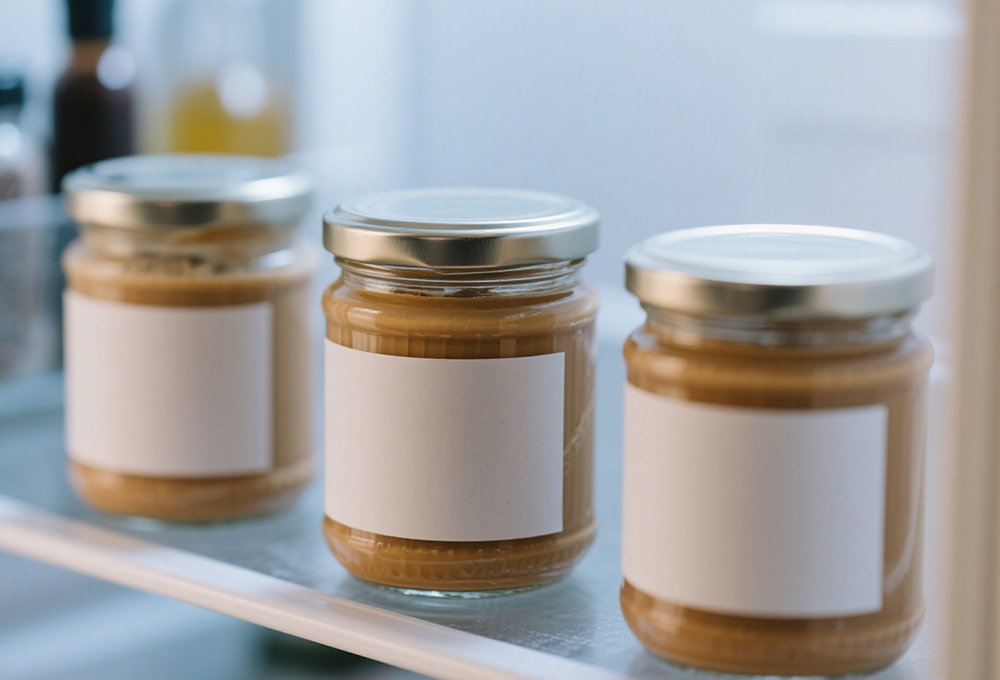
Store your peanut butter in the pantry for up to a week, or in the fridge for up to a month. The fridge will make it firmer, so if you like it spreadable, take it out 10-15 minutes before using. I keep mine in the fridge because I don’t go through it quickly, but if you eat peanut butter every day, the pantry is fine.
Avoid exposing it to heat or light, which can make the oils go rancid. Keep it away from the stove or windowsills. I store mine in the back of the fridge, where it’s cool and dark. Rancid peanut butter has a bitter, off smell—if yours smells like that, toss it. It’s better to be safe than sorry.
If you make a large batch, you can freeze peanut butter for up to 3 months. Portion it into small jars before freezing, so you can thaw only what you need. Thaw it in the fridge overnight, then stir well before using. I’ve never had frozen peanut butter taste any different from fresh—just make sure to leave space at the top of the jar, as it expands slightly when frozen.
Enjoying Your Homemade Peanut Butter
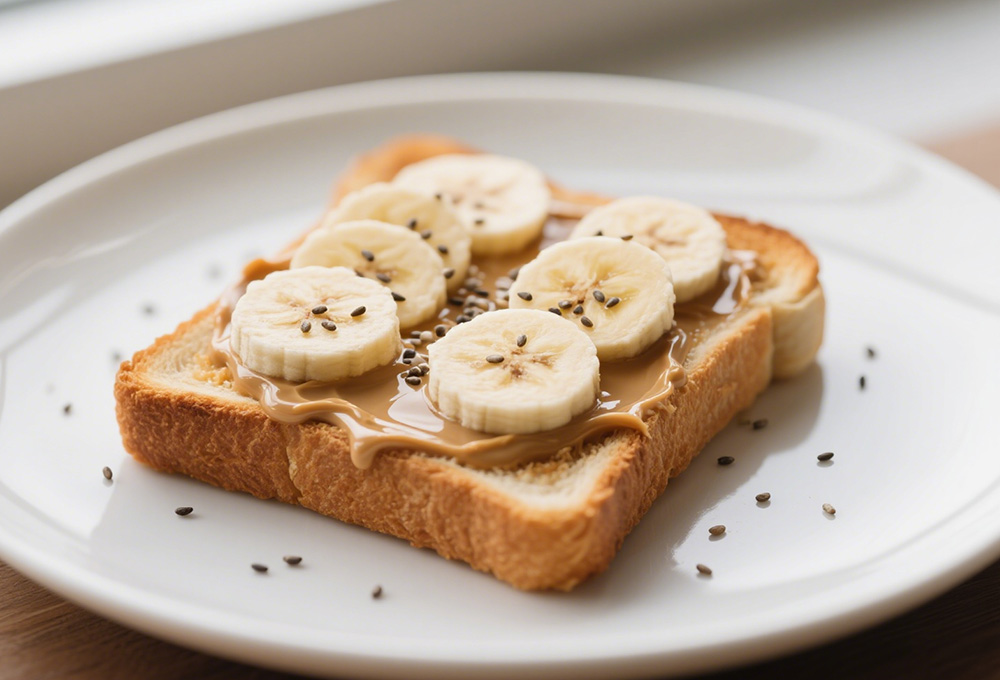
Now for the best part: eating it! Homemade peanut butter is so versatile, it’s become a staple in my kitchen. My go-to breakfast is toast with peanut butter and sliced banana, sprinkled with a little chia seeds for crunch. It’s quick, filling, and tastes like a treat. I’ve even started making it for my kids—they love it more than the store-bought kind.
For a snack, I dip apple slices or celery sticks in peanut butter. It’s a classic combo for a reason—sweet, crunchy, and satisfying. I also stir a spoonful into oatmeal or yogurt for extra creaminess and protein. It adds a rich, nutty flavor that makes breakfast feel more indulgent.
Baking with homemade peanut butter is a game-changer. I use it in cookies, brownies, and even energy balls. My favorite recipe is peanut butter cookies—just mix peanut butter, sugar, and an egg, then bake. They’re chewy, nutty, and so easy. I also make no-bake energy balls by mixing peanut butter with oats, honey, and dried cranberries—perfect for on-the-go snacks.
For something savory, try using peanut butter in sauces. I mix it with soy sauce, ginger, and garlic for a quick stir-fry sauce, or thin it with a little water for a dipping sauce for spring rolls. It adds a creamy, umami-rich flavor that’s unexpected but delicious. Once you start experimenting, you’ll find endless ways to use your homemade peanut butter.
Making homemade peanut butter has been one of the most rewarding kitchen experiments I’ve ever done. It’s simple, affordable, and tastes way better than anything you can buy at the store. Plus, there’s something satisfying about knowing exactly what’s in your food. Whether you’re a peanut butter fanatic or just curious, give it a try. I promise, once you taste the difference, you’ll never go back. Now, if you’ll excuse me, I need to make another batch—my jar is empty.
