Ingredients that need to be prepared
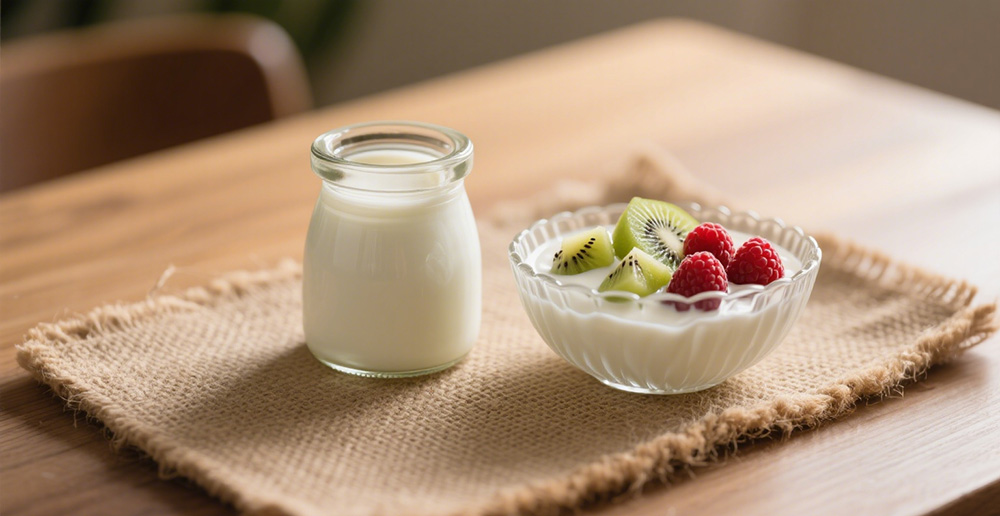
the best part is the short ingredient list. You really only need two things, and you can customize them to your taste.

Starter:This is just a fancy term for a small amount of plain, unflavored yogurt that contains live active cultures. This is non-negotiable—flip the container and make sure the label explicitly says "Live Active Cultures." These little bacteria are the magical engine that transforms plain milk into yogurt. Either Greek or regular plain yogurt will do the trick. Just avoid the flavored stuff; added sugars and fruits can throw a wrench in the whole fermentation process.
You might wonder if the specific bacterial strains matter. Well, different ones like L. Bulgaricus or L. Acidophilus all get the main job done, though some might offer extra probiotic perks. For your first batch, don't sweat it. Any live culture will work, and the flavor of your starter will subtly influence your final product.
That's truly it for essentials. If you're after an even thicker texture, you can have some dry milk powder or gelatin standing by, but it's not a must.
Tools to Gather

An instant-read thermometer is your best friend for this project. You'll need to check the milk's temperature at two critical moments. Getting this right is the difference between success and a runny mess—it makes sure the bacteria are happy and active.
You'll also want a whisk or a sturdy spoon for stirring. Have a small bowl ready, too; it's perfect for tempering the starter with a bit of warm milk so the bacteria don't get a temperature shock.
For storage, any clean container with a lid will work. Mason jars are a classic choice, but old yogurt tubs or Tupperware are fine. Just give them a good wash first.
Now, if you really want to simplify the process, a yogurt maker or a dehydrator takes the guesswork out of maintaining temperature. But they're totally optional. A turned-off oven with its light on works shockingly well, and a cooler with a warm water bottle is a great low-tech alternative.
Steps for making yogurt
The whole process boils down to heat, cool, and then let the microbes do their thing.
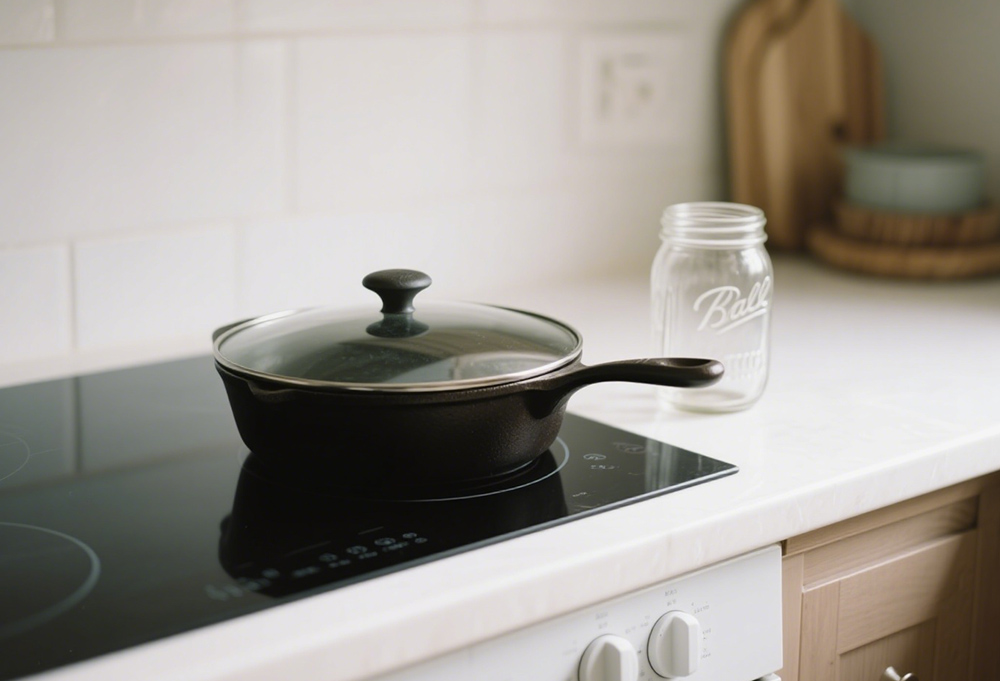
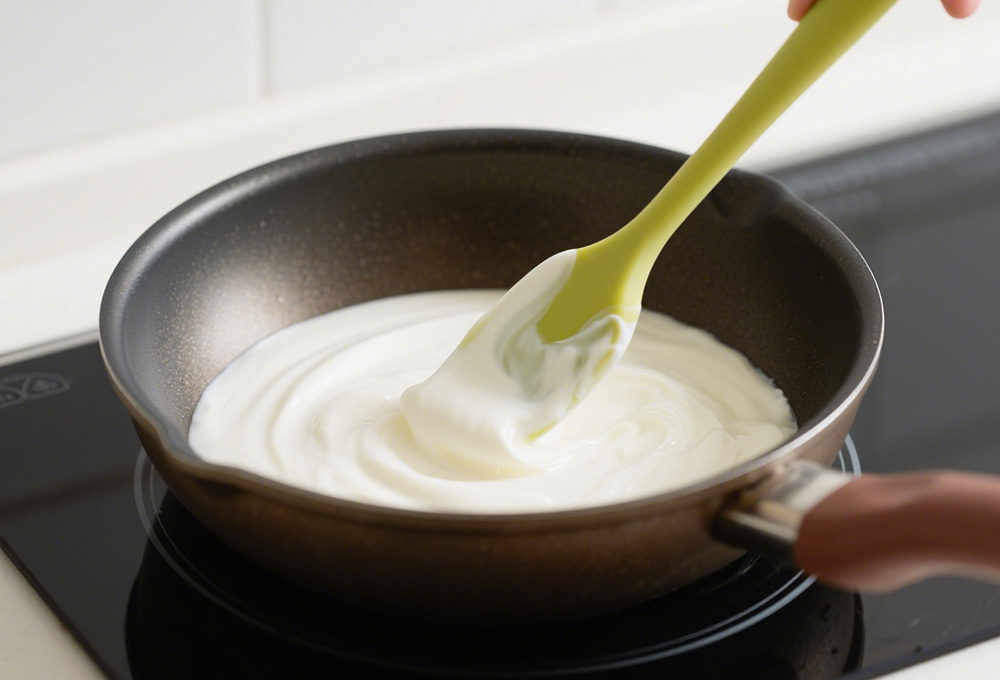
Heat the milk: Dump your milk into the heavy pot and warm it over a medium flame. Give it an occasional stir to prevent a sticky film from forming on the bottom. Your target is just shy of a boil, around 200°F. This isn't just about killing off unwanted bugs; heating the milk actually changes its proteins, which is what gives yogurt that wonderfully firm texture later. Once it hits 200°F, pull it off the heat.

Add the starter: Scoop out about a cup of the warm milk and plop it into a small bowl. Whisk in your half-cup of starter yogurt until it's completely smooth. Now, pour this slurry back into the main pot of warm milk and stir it all together. This is called "inoculation." You've just introduced an army of bacteria that will start feasting on the milk sugar (lactose) and producing lactic acid, which is what magically curdles the milk into yogurt.
Let it ferment: Lid the pot and tuck it into a warm, draft-free spot. An oven with just the light on is a fantastic option. You can also use a yogurt maker set to 110°F or the cooler trick. Now, the hardest part: walk away and don't touch it for several hours.
It's interesting to see how this scales up. Factories do the same basic thing—heat, cool, inoculate—but in giant, sterile vats. After fermenting, they often use additives to thicken it before pumping it into a Yogurt Filling Machine, which is just a super-fast, hyper-hygienic device that portions everything into cups for stores. We don't need that tech at home, but the science is the same.
How Long to Ferment
A minimum of 4 hours will give you a set, pudding-like texture with a very mild flavor. If you let it go longer, the bacteria have more time to eat, resulting in a much tangier taste and a thicker consistency because the proteins tighten up.
A lot of people find an overnight ferment (8-12 hours) is the sweet spot. It's hands-off, and the warmth from an oven light is usually enough to keep things chugging along.
What if the temperature dips a bit? Don't panic. The bacteria are resilient. It might take a little longer and the result might be slightly thinner, but it'll still work as long as it's not cold. The key is to avoid jostling or stirring the pot. Just let it be.
Storing Your Homemade Yogurt

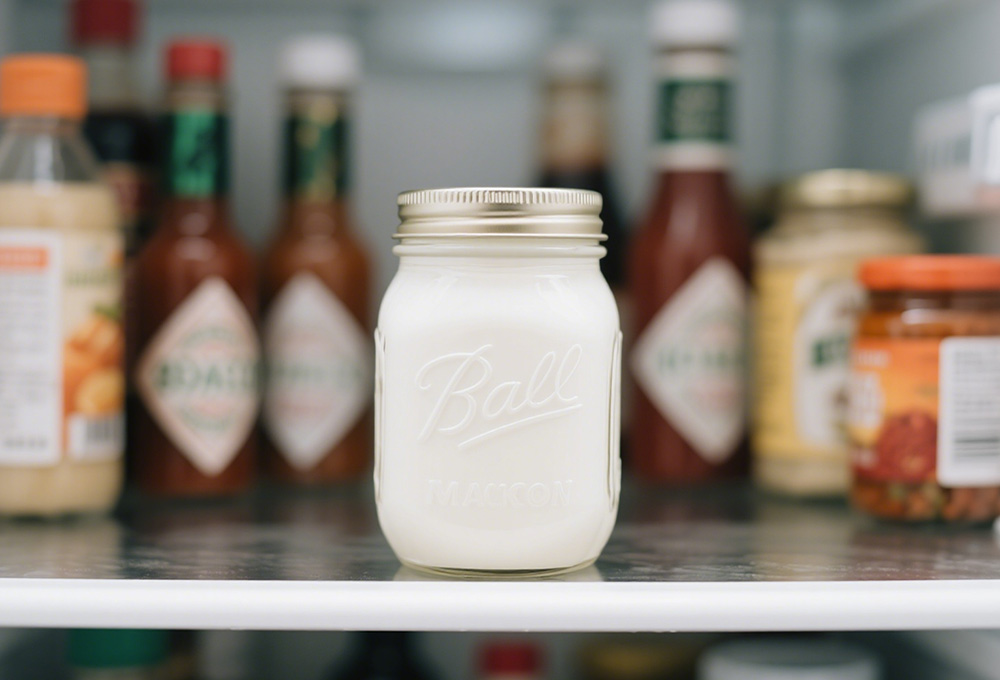
Scoop your finished yogurt into clean containers, seal them up, and get them into the fridge. The cold halts the fermentation, locking in the flavor and texture.
It'll keep nicely for about two weeks. After that, it can get aggressively tangy.
Here's a pro move: save about half a cup of your homemade batch to use as the starter for the next one. You can keep this cycle going for a few batches. But eventually, after 3 or 4 rounds, the bacterial culture can weaken or get contaminated by wild yeast, making the yogurt taste a bit funky. When that happens, just reboot the process with a fresh store-bought starter.
Making yogurt at home is a simple, satisfying kitchen project. With just milk, a starter, and common tools, you can whip up a batch of creamy, delicious yogurt exactly how you like it. Give it a shot,you might just get hooked.
